WiFi Extender Setup With http://www.mywifiext.net
Assuming you have a Wi-Fi router, you can follow these steps to set up Mywifiext.net:-
Connect your computer or laptop to the WiFi network of your router
Open any web browser and type www.mywifiext.net in the URL bar
You will be taken to http://www.mywifiext.net setup page
Click on New Extender Setup Wizard and follow the instructions given on the screen
Once you have completed the process, you will be able to see your extended network’s SSID (network name) and password on the display of your Nighthawk wifi range extender.
Windows Setup
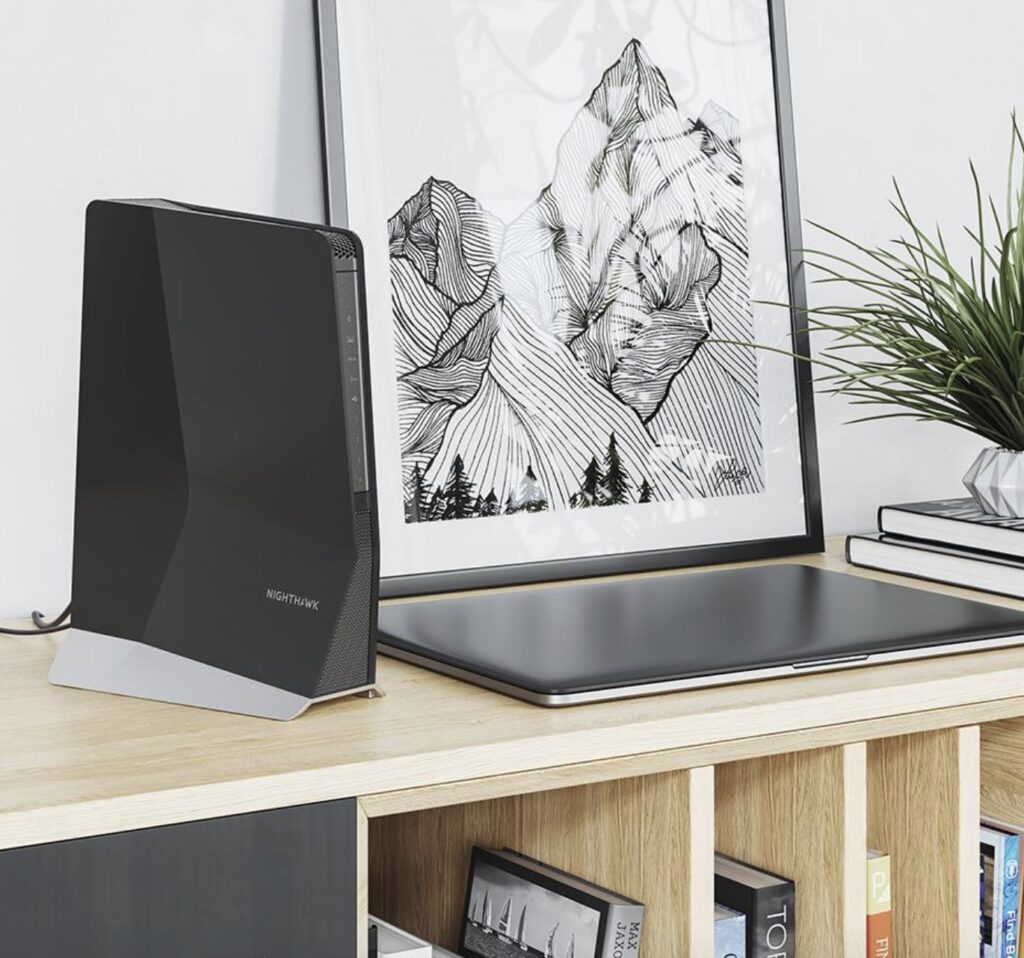
If you’re having trouble connecting to your wifi network or your signal isn’t reaching as far as you’d like, you may need to set up a wireless range extender. Certainly, one of the most popular brands is Netgear Nighthawk WiFi Extender. In this article, we’ll explain what Mywifiext.net is and how it can help improve your wifi signal.
Mywifiext.net is a website that helps you set up and configure your wireless range extender. Moreover, It provides step-by-step instructions on how to properly install your device so that you can get the best possible performance from it. Mywifiext.net also offers helpful tips on troubleshooting common problems that people have with their range extenders.
If you’re thinking about purchasing a wireless range extender, or if you already have one and want to learn more about how to use it, be sure to check out Nighthawk WiFi Extenders for all the resources you need.

Mac OS Setup
If you have a Mac computer and want to extend your WiFi signal, you can do so by using mywifiext.net. This is a website that helps you set up your WiFi extender and get it working properly. Here are the steps you need to follow:
1. Firstly, connect your Mac to the WiFi extender using an Ethernet cable.
2. Secondly, open a web browser and go to mywifiext.net.
3. Consequently, enter the username and password for your WiFi extender.
4. Therefore, click on the Wireless tab and then click on the Security sub-tab.
5. Also, make sure the security mode is set to WPA2-PSK and enter a strong password in the Pre-Shared Key field.
6. Save the changes and reconnect your devices to the WiFi extender setup.
Smartphone Setup
If you’re looking to extend your WiFi signal, you may have come across the term “mywifiext.net.” So, what is mywifiext.net and how can it help you extend your WiFi signal?
Mywifiext.net is a web-based utility that helps you configure your WiFi range extender. It provides a user-friendly interface that lets you quickly and easily set up your extender. With mywifiext.net, you can:
Extend your WiFi range
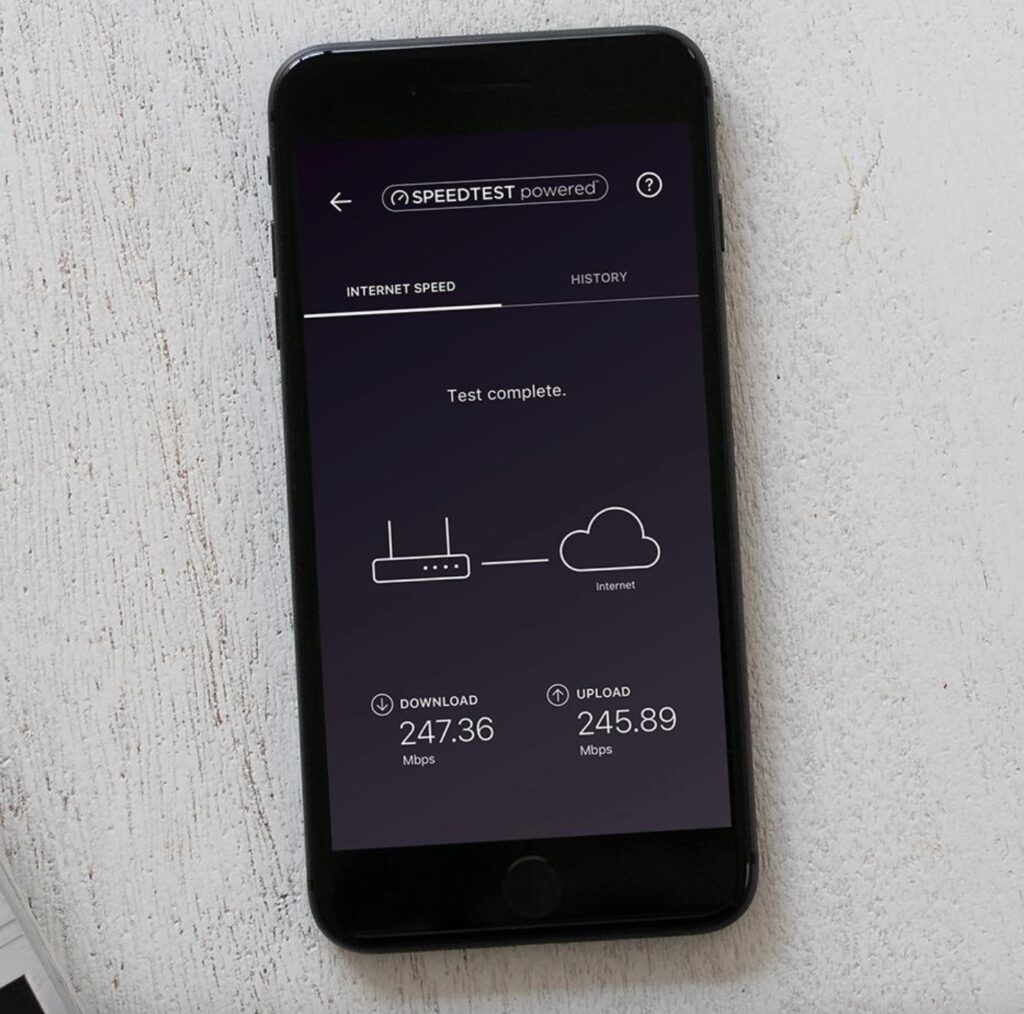
Improve your WiFi speed
Optimize your WiFi coverage
Mywifiext.net is an essential tool for anyone looking to extend their WiFi signal. If you’re struggling with weak or patchy WiFi, give mywifiext.net a try – it could be just what you need to get the strong and reliable WiFi connection you deserve!
Connecting Your Router to the Extender
If you want to connect your router to the Nighthawk extender using an Ethernet cable, follow these instructions:
1. Firstly, connect one end of an Ethernet cable to the LAN port on your router.
2. Consequently, connect the other end of the Ethernet cable to the WAN/Internet port on the Nighthawk extender.
3. Also, make sure that both devices are powered on and that their connection LEDs are lit.
4. On the other hand, open a web browser and enter http://www.mywifiext.net or mywifiext.net or the IP address 192.168.1.250 into the address bar. This will take you to the login page for your wifi extender setup. If you see a different page, check that you’re connected to the correct network and try again.
5. Enter your admin password into the Password field and click Login. If you don’t know your password, refer to your user manual or contact customer support.
After logging in, you should see the Wifi Extender Setup page where you can begin configuring your Nighthawk wifi extender.

WiFi Extender Setup
http://www.mywifiext.net
Configuring the Network Settings
Nighthawk Extender using mywifiext.net or the IP Address 192.168.1.250 can be easily configured by anyone, even if they are not tech-savvy. It is a very user-friendly process and takes only a few minutes to complete. Below are the step-by-step instructions on how to configure the network settings for your Nighthawk WiFi Extender:
1. Firstly, connect your Nighthawk Extender to the power outlet and turn it ON.
2. Secondly, connect your computer or laptop to the WiFi network of the Extender. The name (SSID) of this network will be displayed on the sticker at the bottom of your Extender.
3. Therefore, once you are connected to this network, open any web browser on your computer and type “192.168.1.250” in the address bar. This will take you to the login page of your Extender’s web interface where you will be required to enter the default username and password (both can be found on the sticker at the bottom of your Extender).
4. Likewise, after logging in, click on “Advanced Setup” from the top menu and then select “Wireless Settings” from the left side menu.
5. Certainly, on this page, you will find all the options related to configuring your wireless network including changing the SSID (name) of your network, its password, encryption type, etc. Make all the desired changes here and then
Accessing the Nighthawk Web Interface Mywifiext.net
To access the Nighthawk web interface:
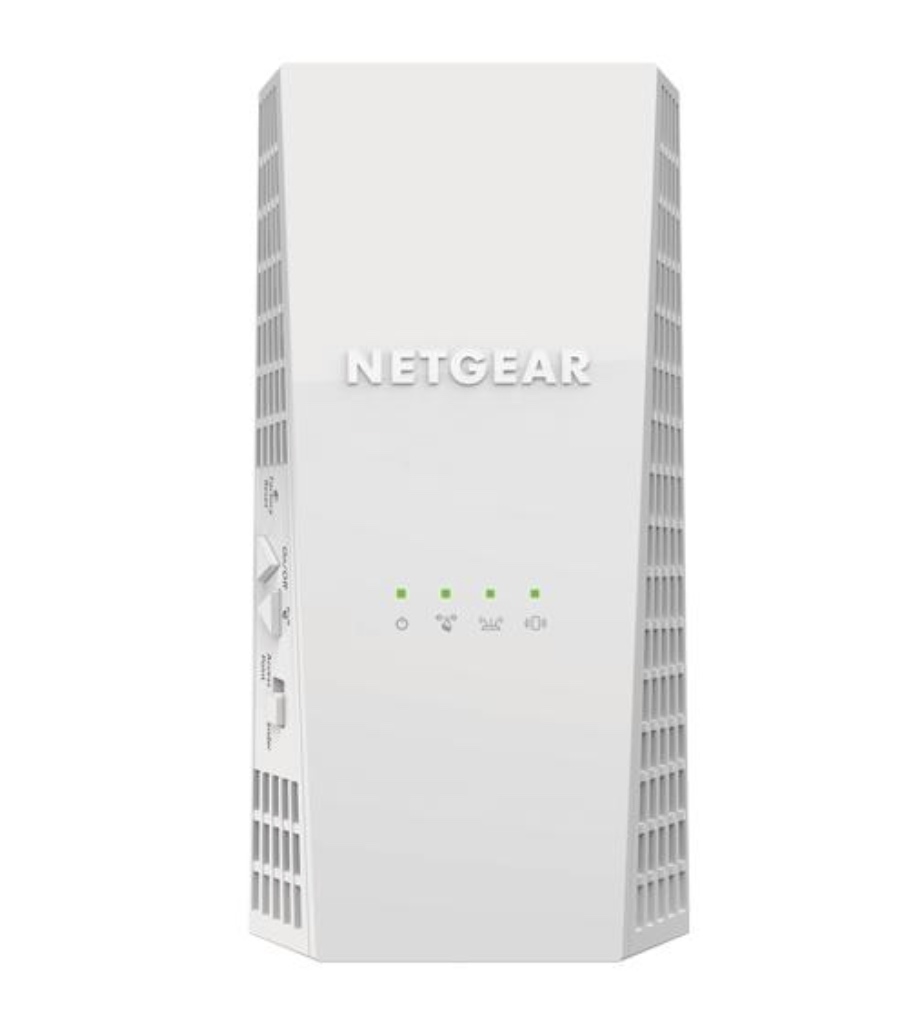
1. Firstly, connect your computer or mobile device to the extender’s WiFi network. Therefore, The default network name (SSID) is “NETGEAR_EXT” and can be found on the label on the back of the wifi extender.
2. Secondly, open a web browser and enter http://www.mywifiext.net into the URL field.
3. As a result, If you see the NETGEAR Genie page, click Login in the upper-right corner of the page.
4. Therefore, Enter the administrator user name and password that you created when you first set up your Nighthawk Extender. The default user name is admin and there is no password by default (just leave it blank).
5. Consequently, click OK or Log In to log in to your Nighthawk Extender’s web interface and configure settings as needed for your wireless network(s).
Completing the Setup Process
Once you have the Nighthawk wifi extender unpacked and ready to go, you need to complete the wifi extender setup process. This is a simple process that can be done in just a few minutes. Here’s what you need to do:
1. Firstly, connect the Nighthawk extender to your computer using an Ethernet cable.
2. Secondly, plug the Nighthawk extender into an electrical outlet.
3. Therefore, launch a web browser on your computer and enter “http://www.mywifiext.net” or “mywifiext.net” or the IP address 192.168.1.250 into the address bar. This will take you to the Nighthawk wifi extender setup page.
4. Also, enter your username and password when prompted. The default username is “admin” and the default password is “password”.
5. As a result, follow the prompts on the setup page to configure your Nighthawk extender. You will be asked to choose a network name (SSID), select a security type, and enter a password for your wireless network.
6. Once you have completed the wifi extender setup process, unplug the Ethernet cable from your computer and Nighthawk extender. Your Nighthawk extender is now ready for use!
Troubleshooting Common Issues with Mywifiext.net
If you’re having trouble connecting to the Mywifiext.net website, there are a few things you can try:
1. Firstly, make sure you’re connected to your wifi network.
2. Secondly, try opening the Mywifiext.net website in a different browser.
3. Furthermore, If you’re still having trouble, contact your ISP or router manufacturer for help.
If you’re trying to extend your wifi signal and having trouble with wifi range extender setup, there are a few things you can try:
1. Firstly, place the range extender closer to your router.
2. Secondly, make sure that all of the antennas on your range extender are pointing up.
3. Likewise, If you’re using multiple range extenders, try moving them around to see if that helps improve the signal.
4. As a result, If you’re still having trouble, contact your ISP or router manufacturer for help
Conclusion
All in all, mywifiext.net is an essential tool for extending your wifi signal and providing a better experience to yourself and those around you. With its easy setup process, powerful features, and advanced security options, mywifiext.net can help extend your wifi range without any fuss or hassle so that you can enjoy optimized wifi coverage throughout your home!